Elbow Cutting Jig for Pipe Marking – DIY Tool
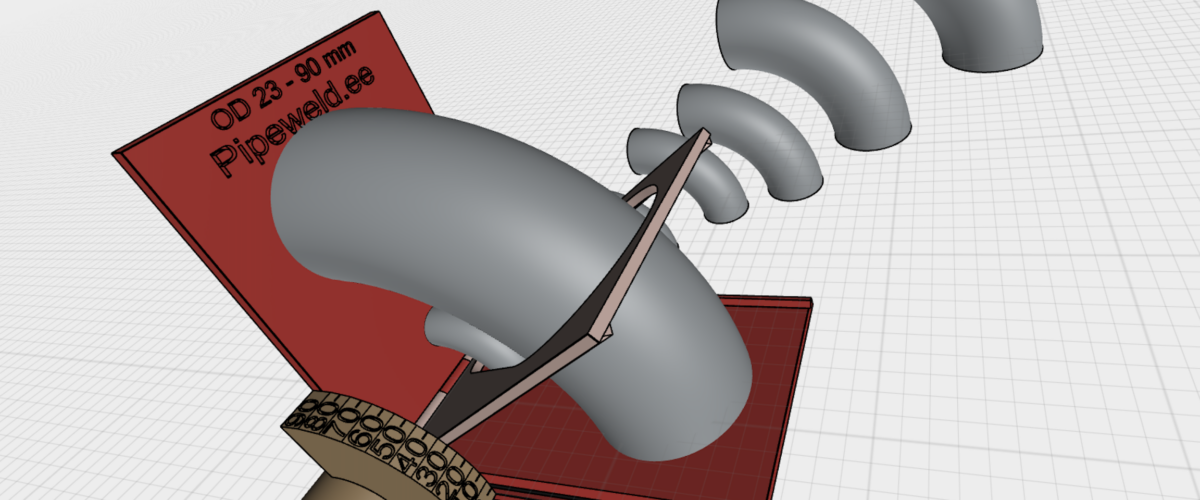
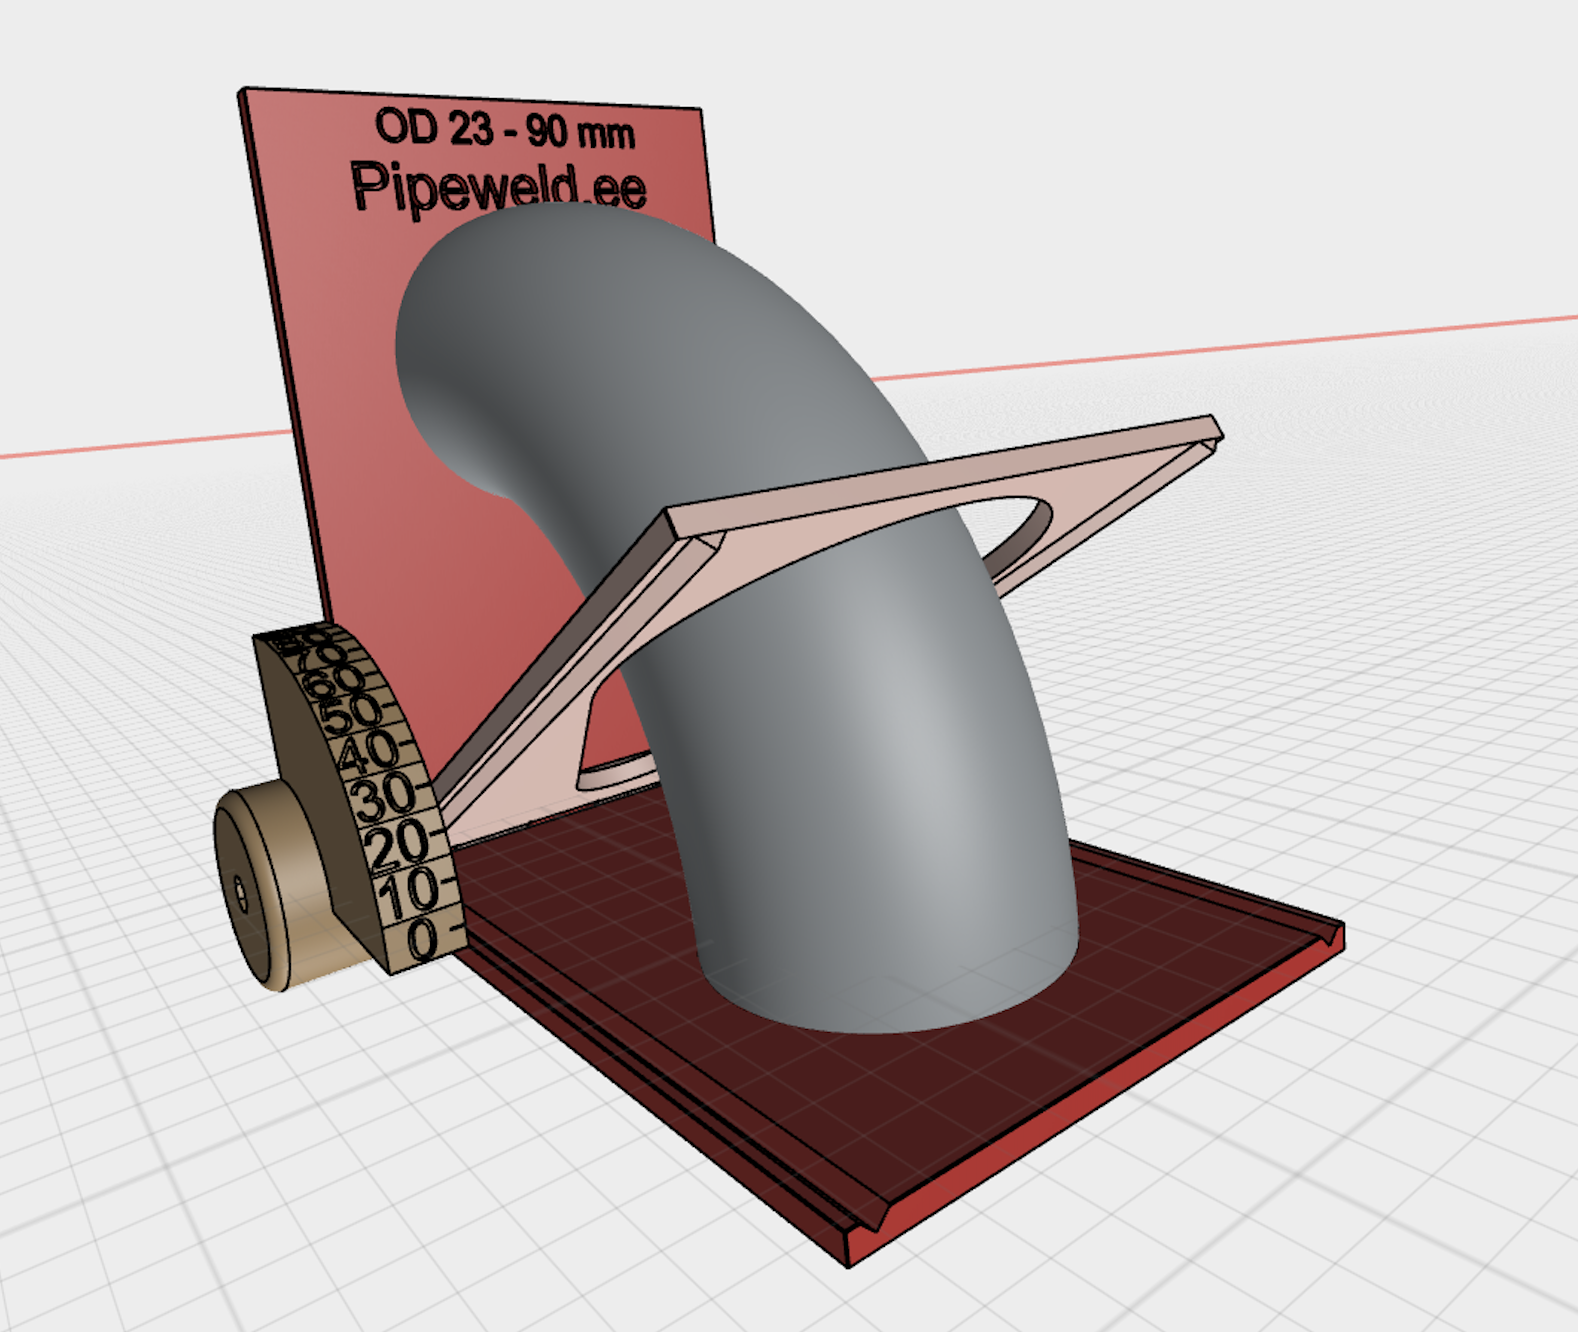
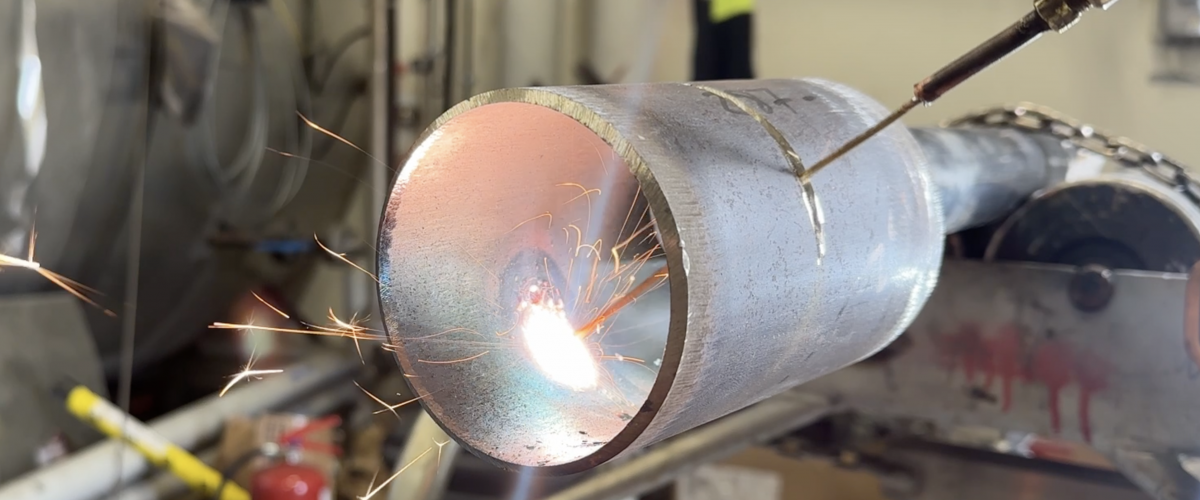
I’d like to share with you a simple elbow cutting jig for pipe marking that allows you to quickly and accurately mark a welding elbow at any angle.
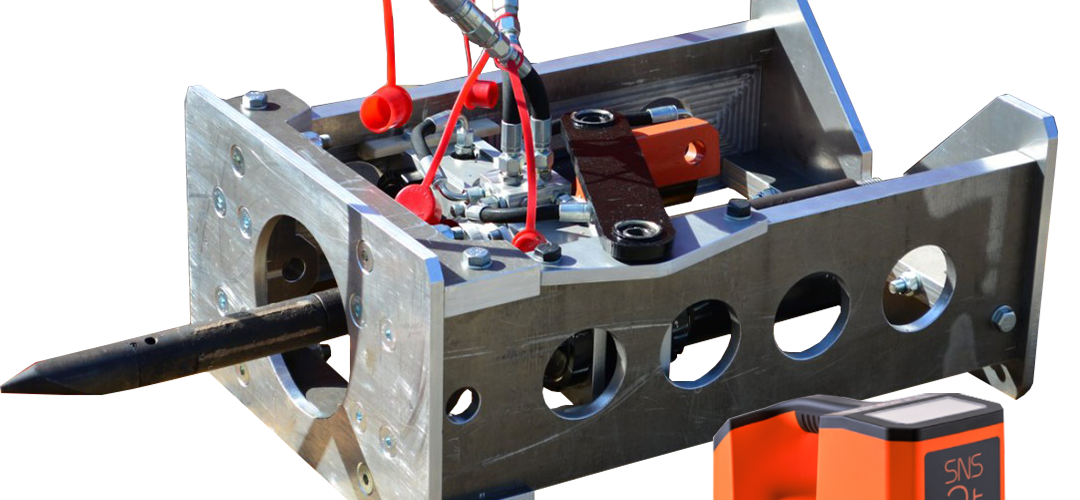
These tools are no longer available for purchase, although professionals actively used similar devices in the past.
Since they are not available on the market anymore, I decided to make my own pipe marking tool and printed it using a 3D printer.
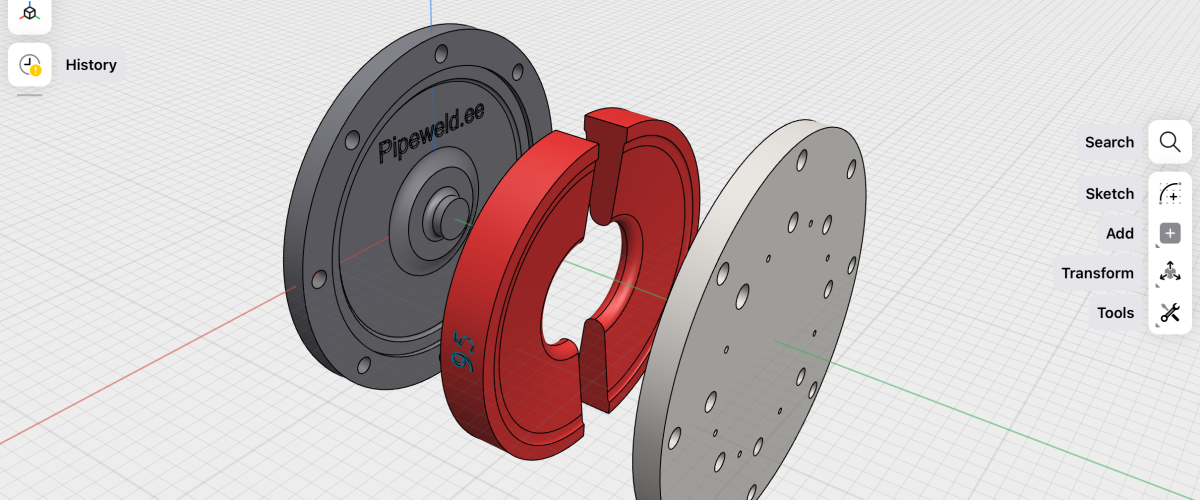
3D Model of the Elbow Cutting Jig
For 3D printing, I recommend using 40–60% infill to ensure the tool is strong and provides high accuracy.
Alternatively, you can manufacture the tool from metal using a milling machine, utilizing the same 3D model.
You can download the model here 👉 for elbows with a diameter of 33 to 88 mm.
You can also scale the model for pipes with a diameter of 100 to 250 mm.
If I need a larger tool for marking pipes in the future, I’ll release a new model. For now, this one is available.
What You’ll Need for Assembly
- A 3D printer for printing the parts or a milling machine for creating the components from metal (note that accuracy may decrease with the latter).
- Two M4 nuts and a threaded rod 129 mm long.
How to Mark Elbow 45, 47 Dg Manually
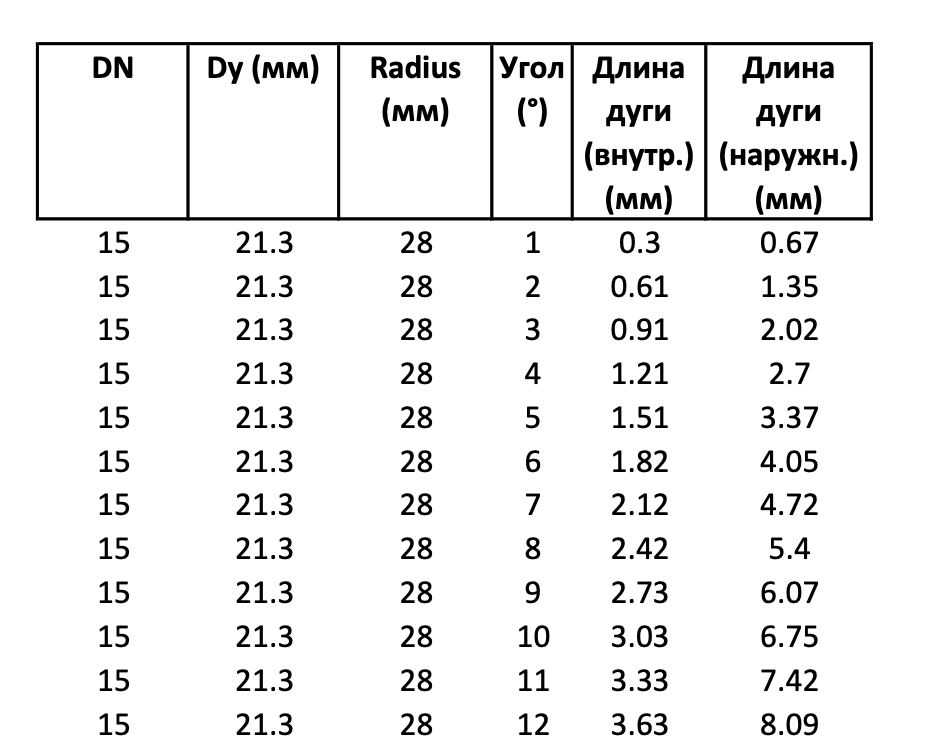
To calculate the required angle for marking a pipe, you can use a ready-made table. The table shows the measurements you need to mark from the pipe edge along the inner and outer radii.
After applying the marks, connect them using a string 1.5–3 mm thick to draw a straight line.
Download elbow arc table here
You can also download apps on your phone that help calculate the necessary measurements for pipe marking.
