
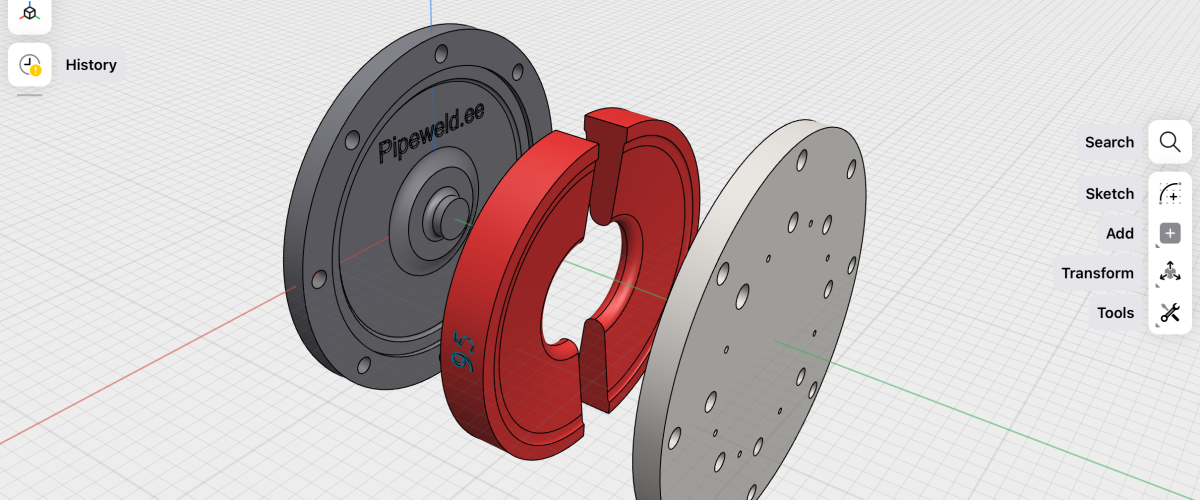
Tie-in point with an elbow into the fixed pipe strings of the pipeline (dead legs)
What Are Overlap Connection and Tie-In?
Overlap Connection (in the context of pipeline installation)
-
An overlap connection is the joining of two pipeline sections at a technological gap.
-
An overlap connection is a circumferential joint connecting pipe strings after they have been laid in their design position and backfilled.
From the given definitions, the second one appears to be more accurate.
Origin
The term “overlap connection” evidently comes from the technique where one pipe string is placed over another before a specialist performs marking, cutting, and welding of the pipeline.
Note: An overlap connection always refers to the connection of straight pipe strings.
Tie-In
-
In the context of pipeline installation, a tie-in is the process of creating a new branch or connecting to an existing pipeline.
-
A tie-in is a specialized welded connection performed during the construction or repair of an oil pipeline, directly linking the main pipe to a branch.
Additional Information:
A tie-in can be performed either under operating pressure or with a complete pressure release in the mainline. It can be executed using elbows, tees, straight pipe sections, or inserts when replacing a pipe segment, as well as other specialized fittings.
In our case, the technology is applied exclusively with a complete shutdown of the mainline during the tie-in process. However, tie-ins can also involve inserts, tees, elbows, reducers, valves, and other components.
Note: The technology described below can be used for both tie-ins and overlap connections.
Overlap Tie – in Technology Benefits
- Accurate fit with minimal pipe stress
- High installation speed
- Risks to miss = 0
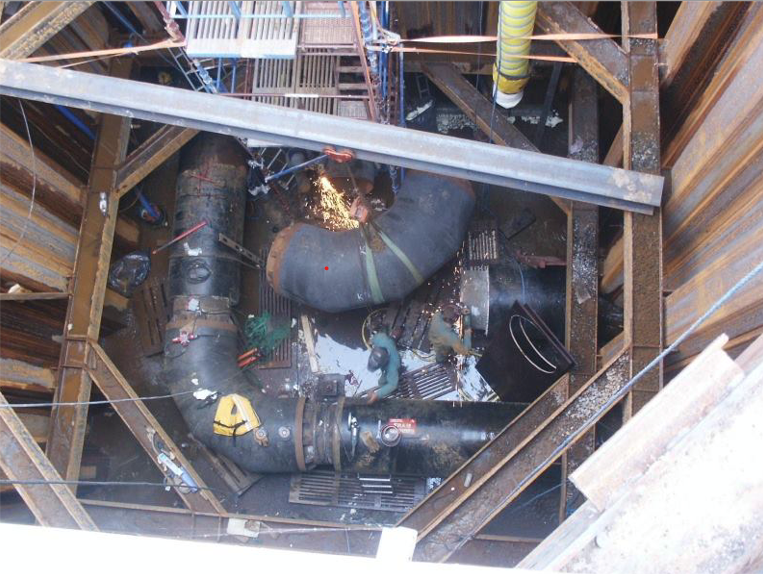
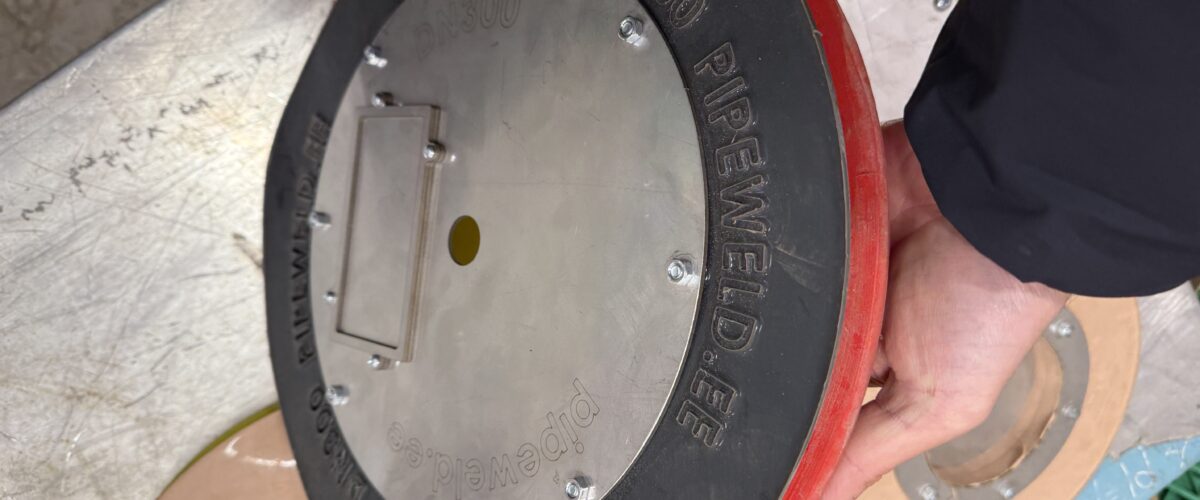
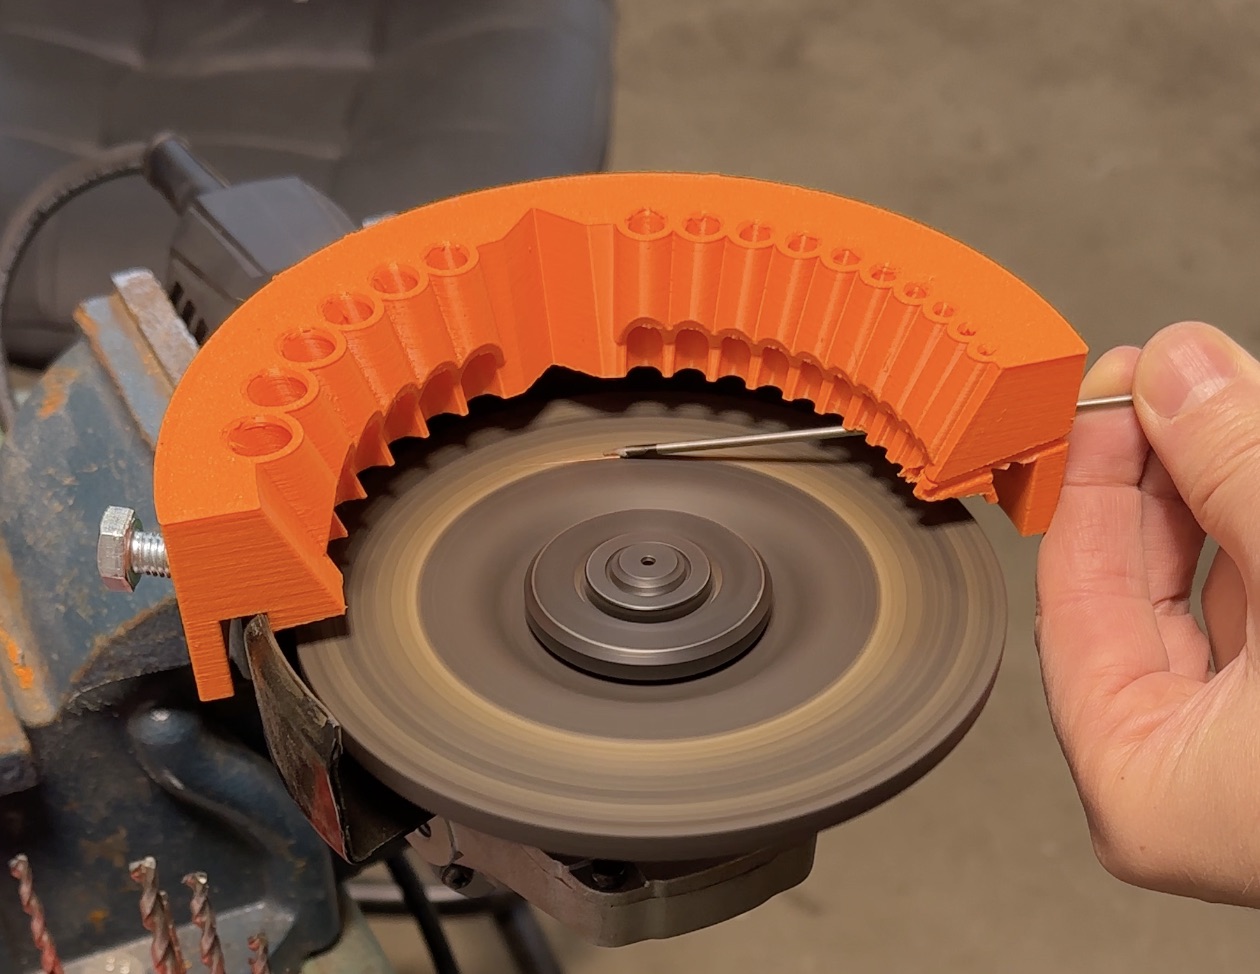
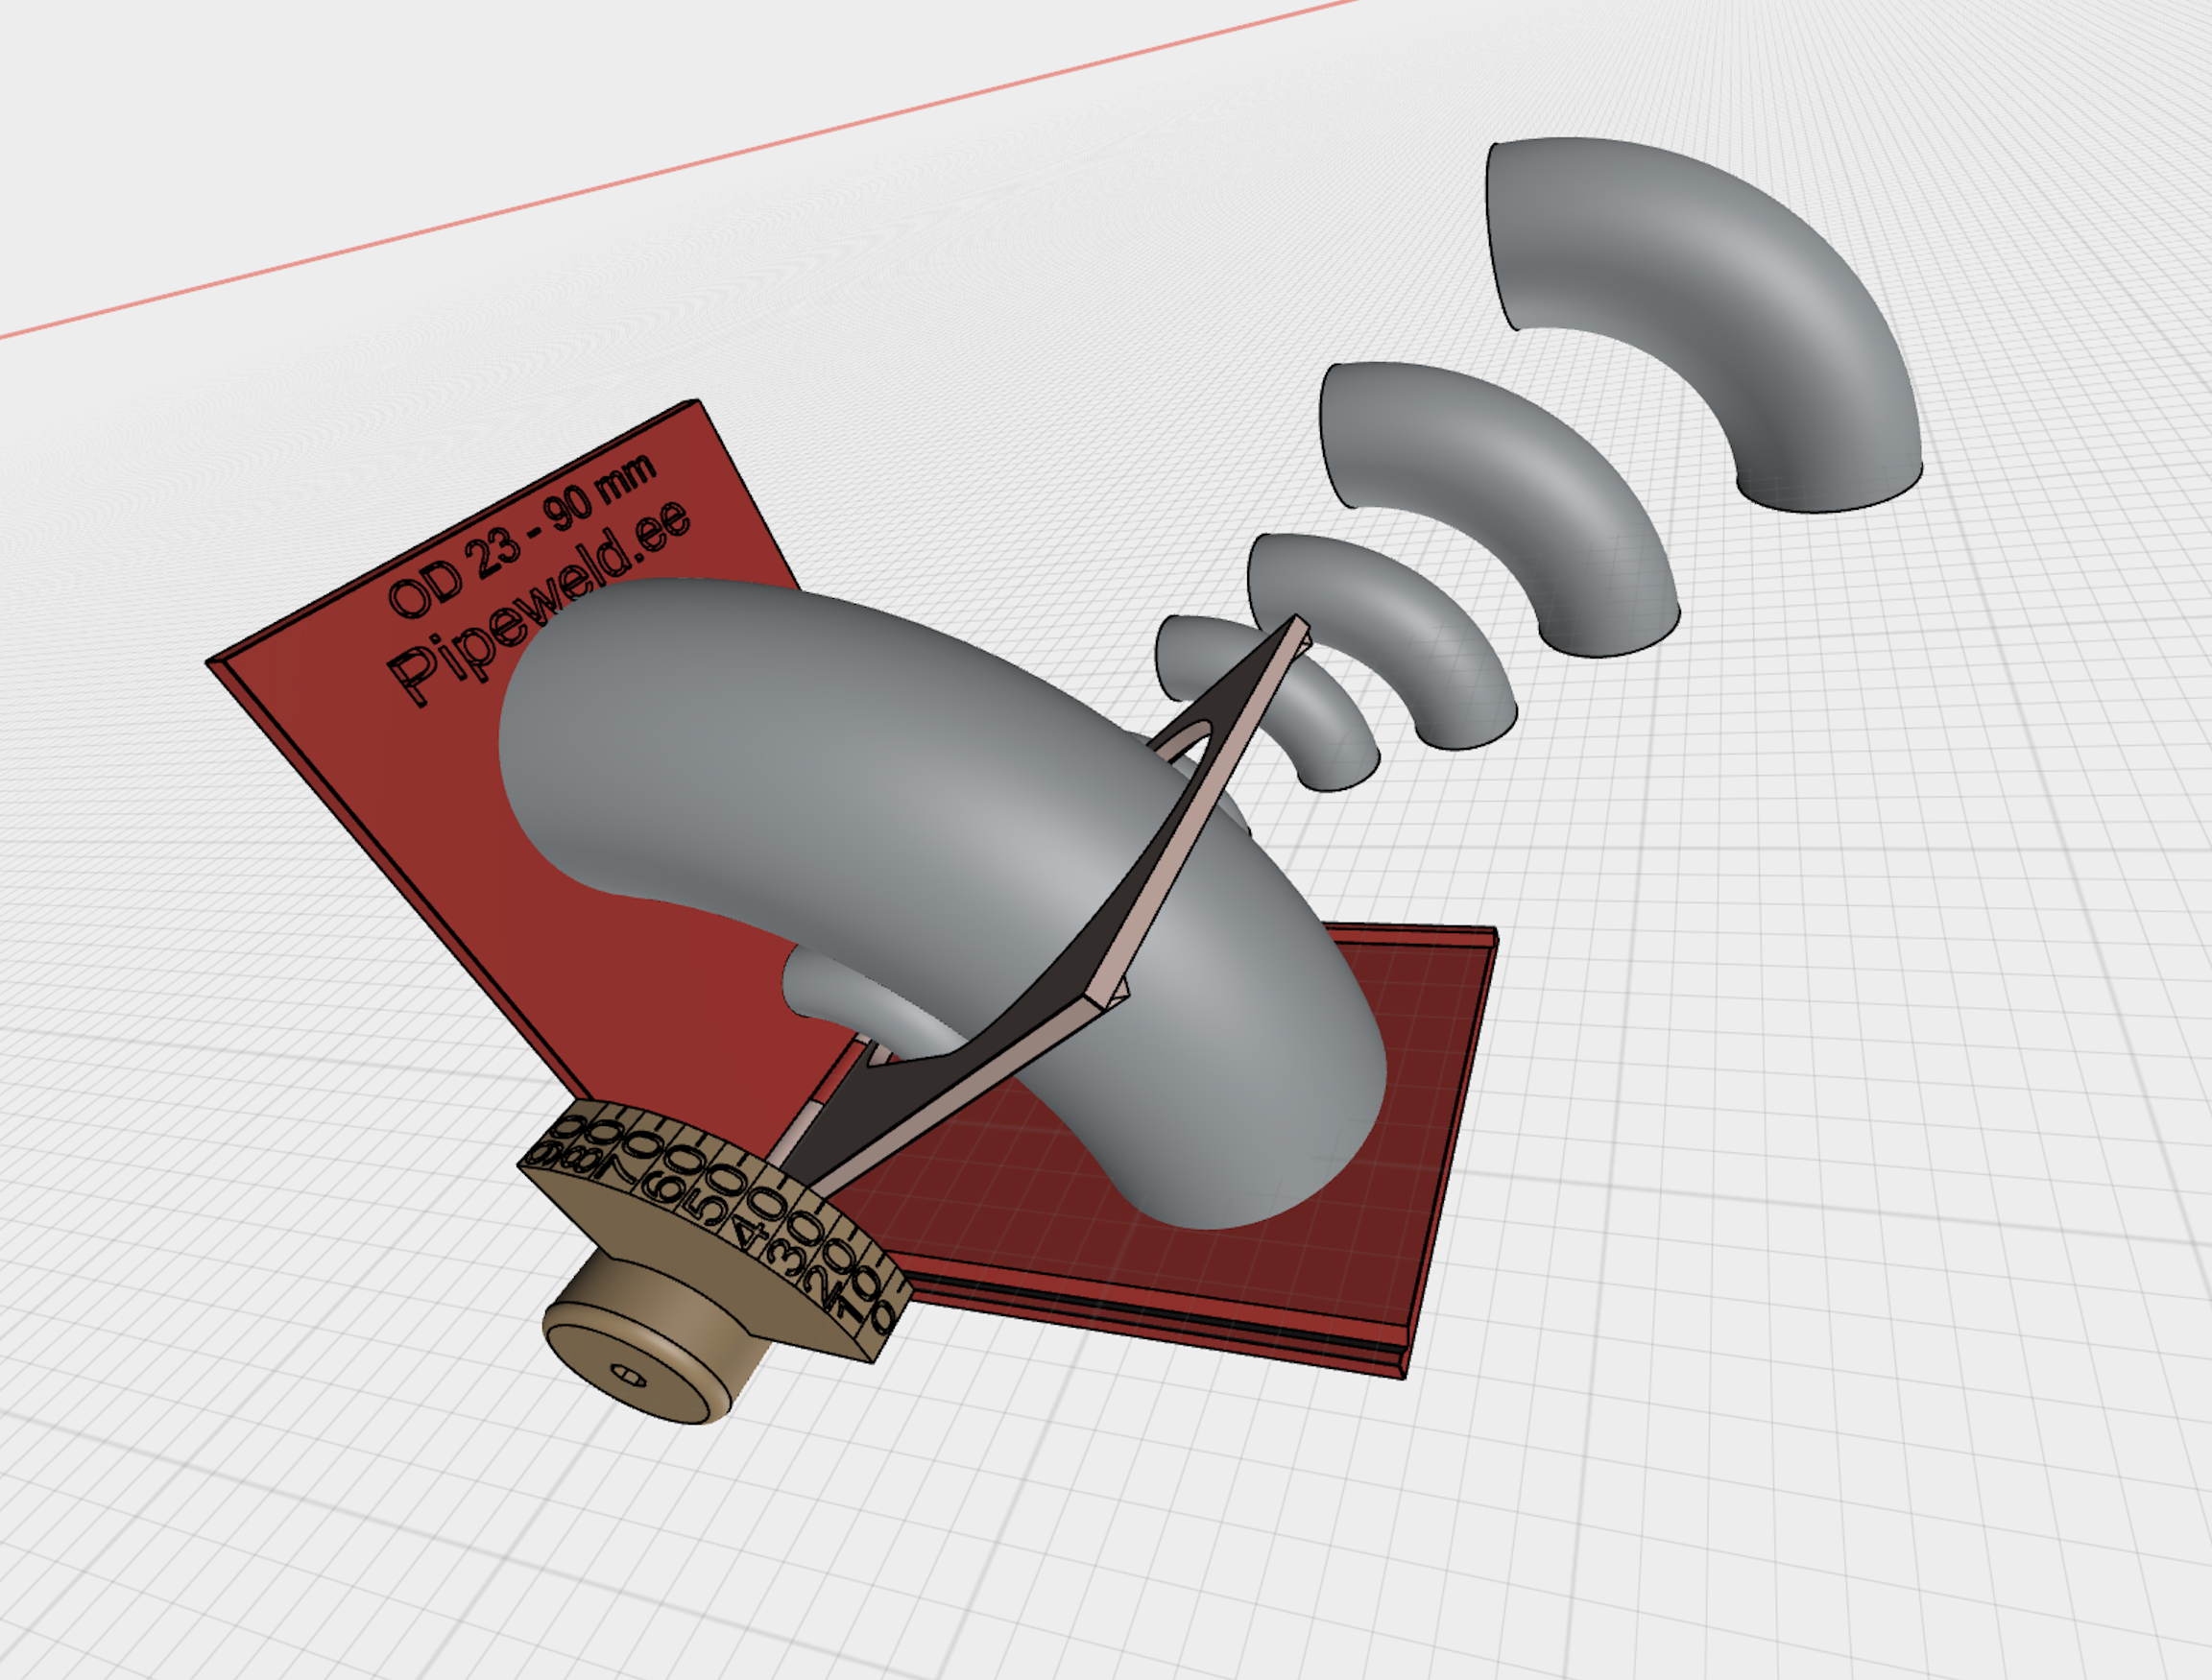
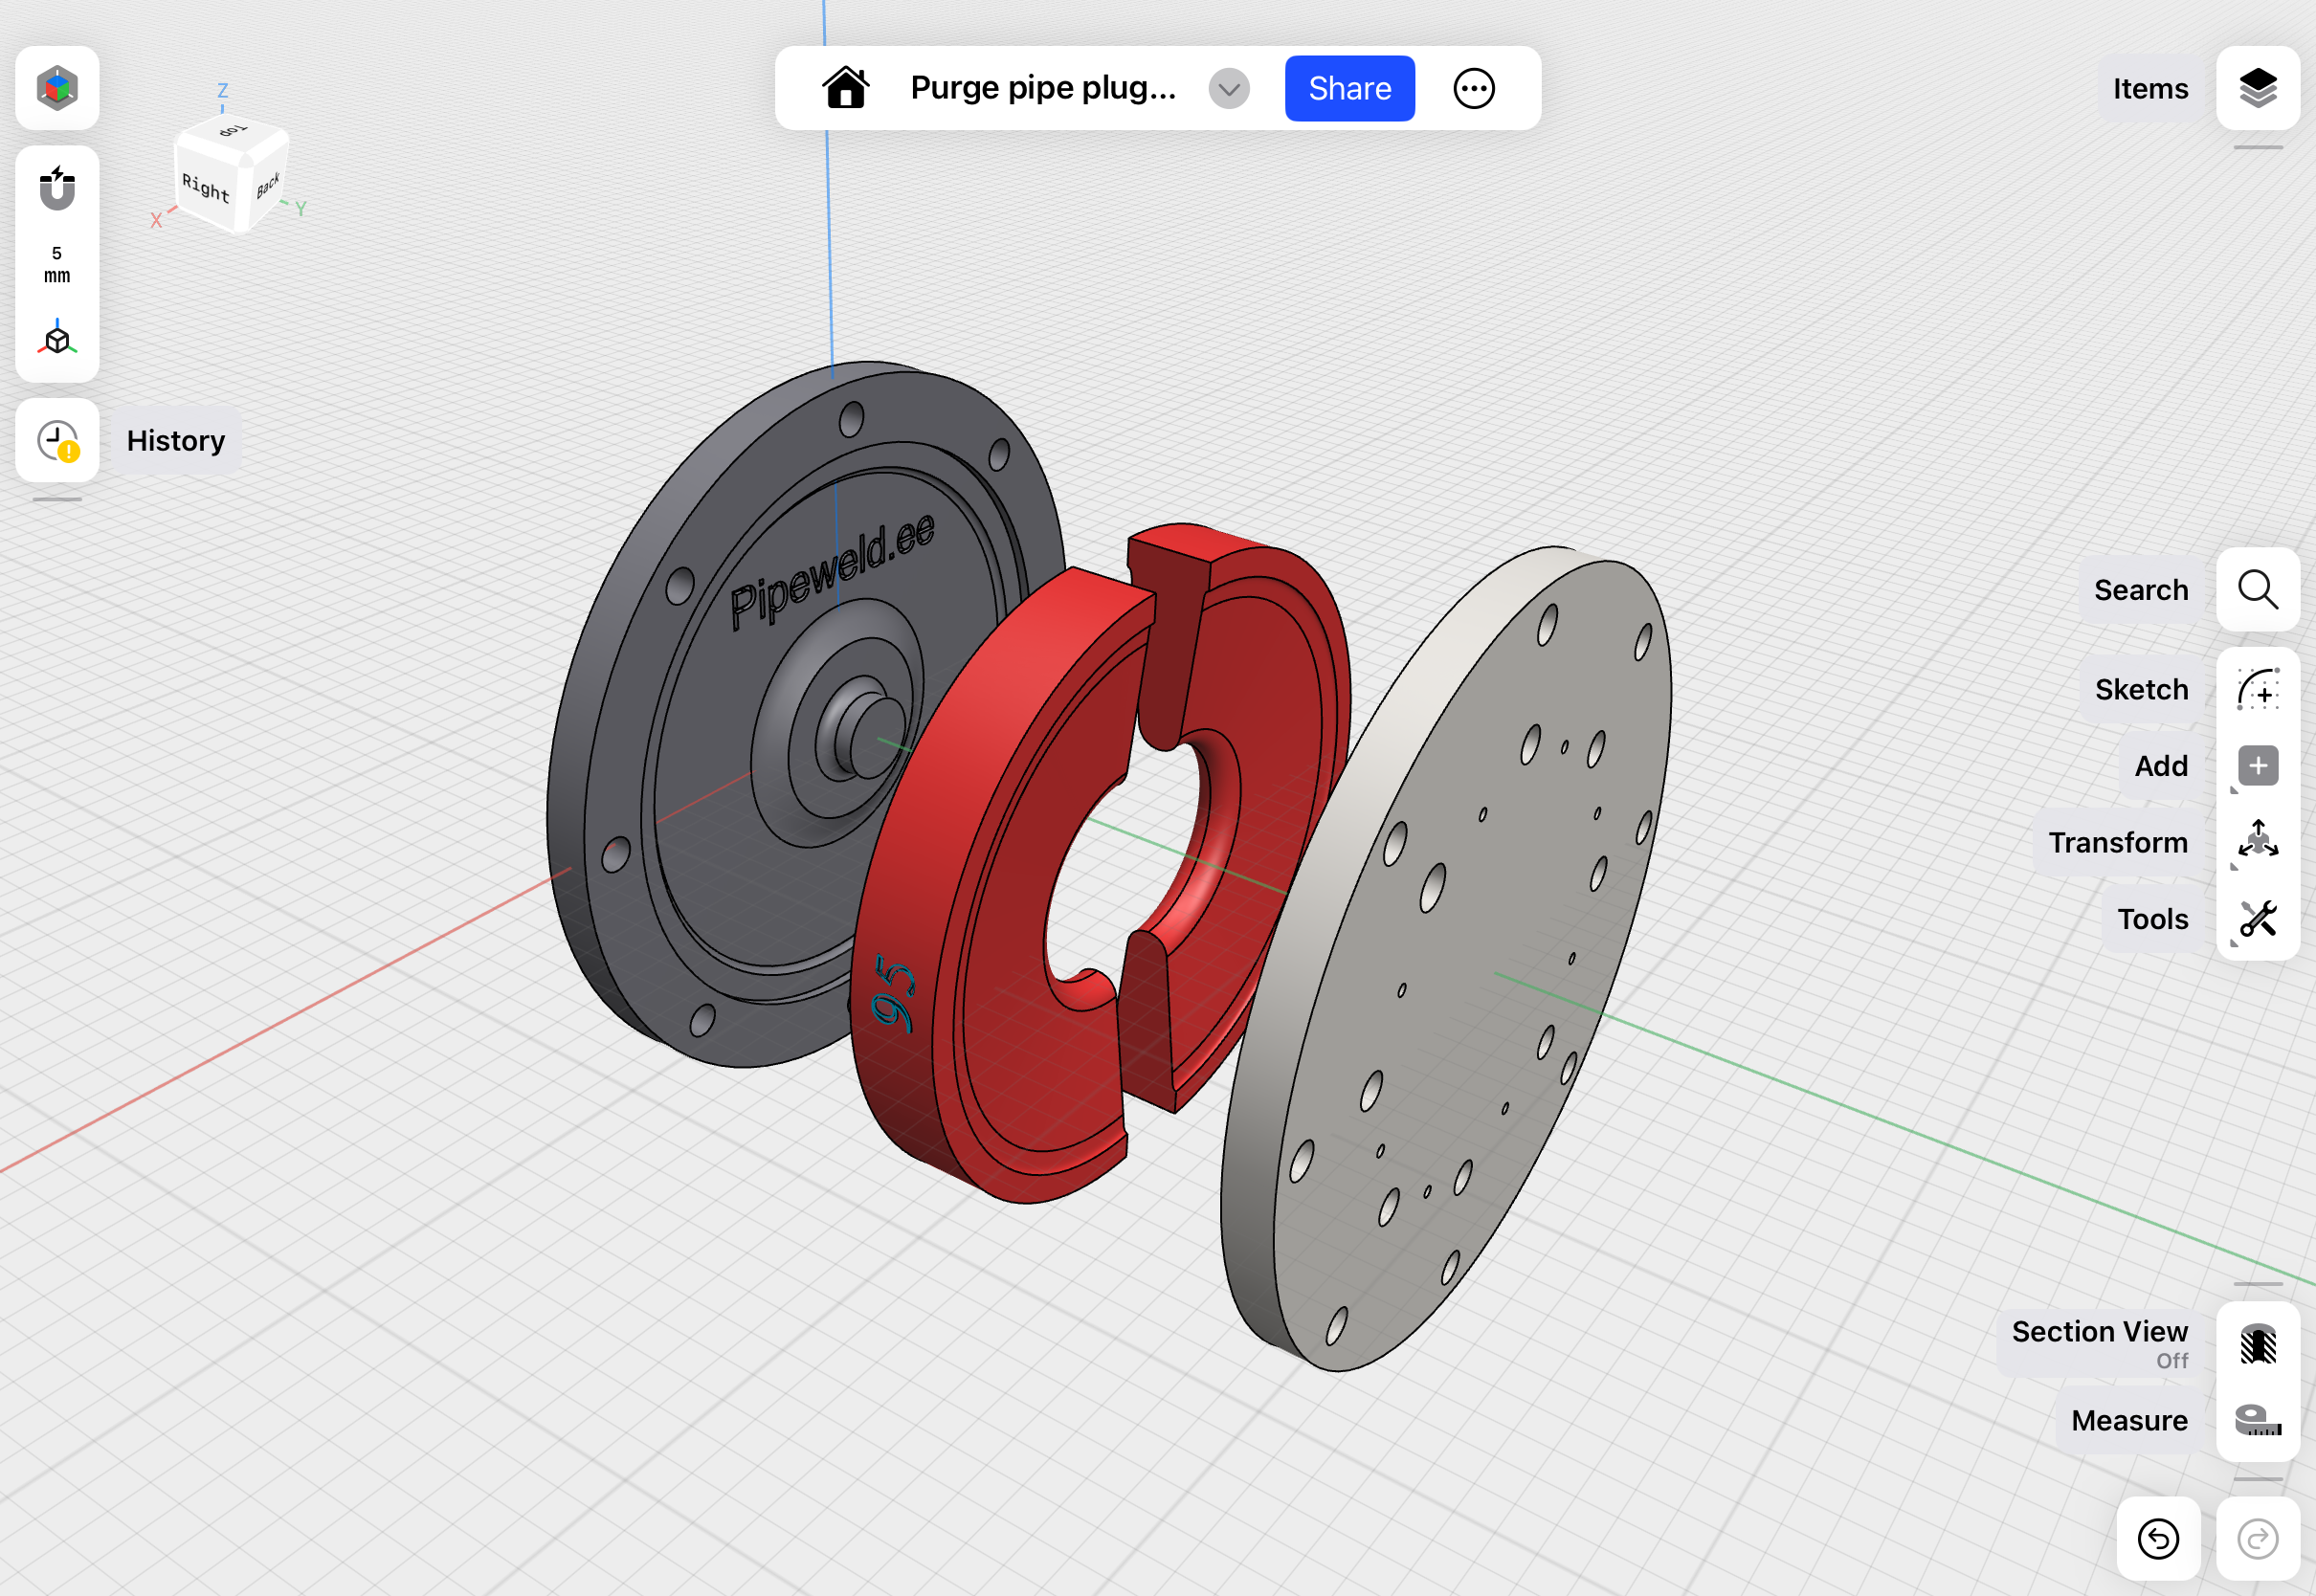
1. Preparation to tie-in a bend into a technological piping spool
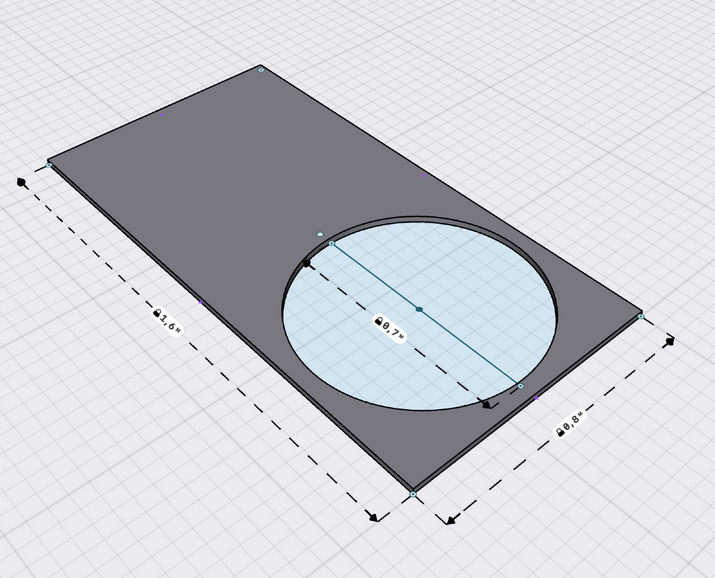
You need to cut out two sights from flat plywood.
The sight, made of plywood 14 – 20mm thick, must be at least 100mm longer than the diameter of the pipeline in width and twice + 100mm in length.
Tip – always check the straightness of the sight before using it.
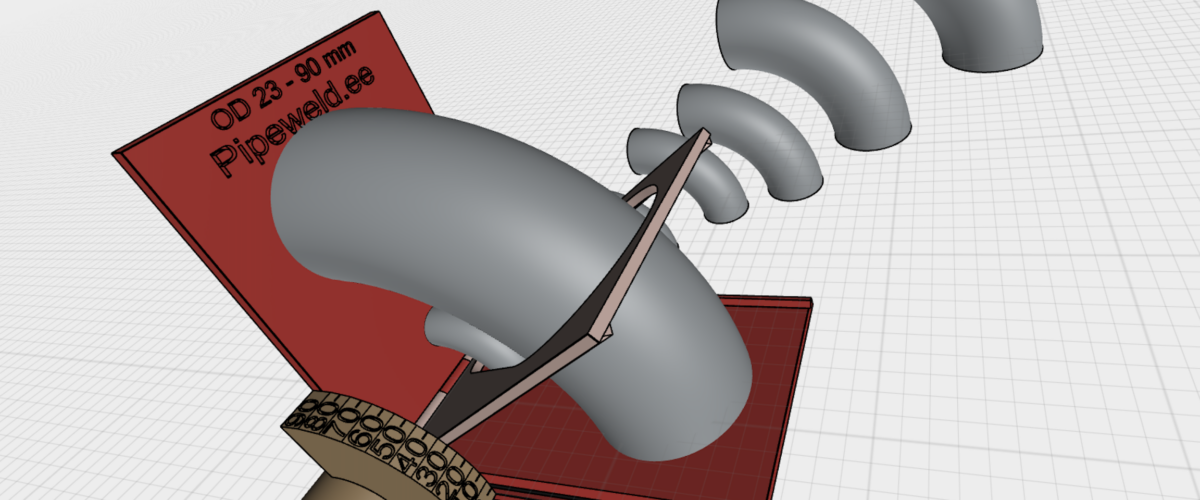
2. Laying a bend on the pipeline dead pipe ends.
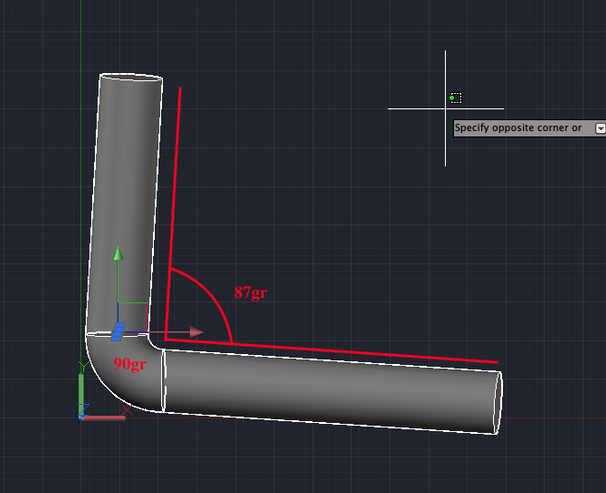
Lowering the bend on top of main pipe ends, at this point it is important for us:
choose the ideal bend position with a smaller fracture angle:
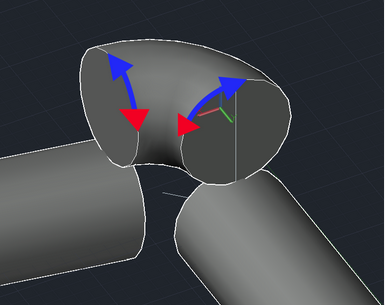
establish the alignment of the vertical axes of both sides relative to the extended ends:
3. Baseline marking on technological pipeline
One apply plywood sights to both ends of the bend and can carefully transfer the baseline to the ends of the pipeline, but it is important not to rush to cut along the baseline.
4. How to make a golden joint and why not cut along the baseline?
The thing is that we are considering the case when the axes of the pipeline do not meet in the center of the bend, along one of the three planes or along all three.
In other words, the ends are not laid correctly and there is no way to move them.
Explanations:
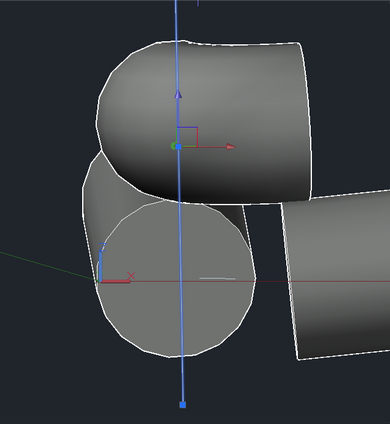
Since we are lowering the bend from above in a vertical plane (top view), in this plane it does not matter to us what error is along the axes, it can be 5 degrees or even more.
But in the horizontal plane (this is a side view) it is of great importance.
Since we will lower the bend directly perpendicular to the ground. Then point A will be transferred to A1, and point B will be transferred to B1, in this example we see the reason for the formation of a critical gap, indicated by GAP in the figure.

5. Transferring the baseline to the location of the actual pipeline cut
In this example, you need to move the baseline (Baseline) by GAP distances, in the direction to the right, see the arrow (moving direction >>>)
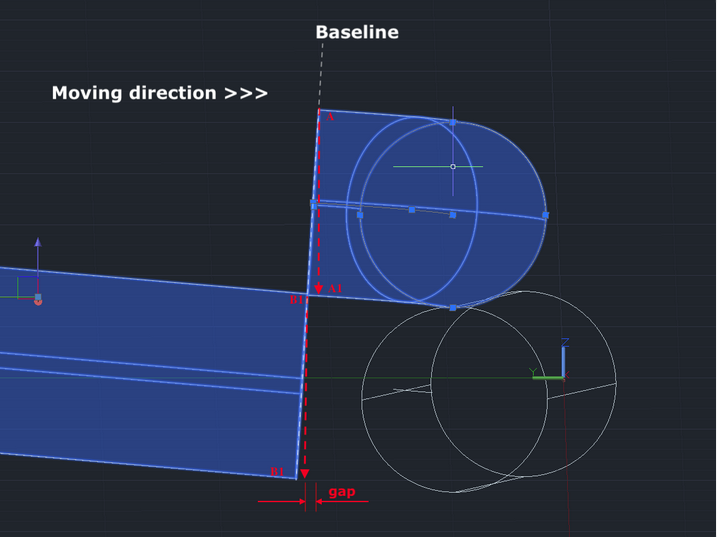
It is important to understand that the opposite phenomenon can also occur when an overhang is formed, and not a gap.
In this case, you need to move the baseline (Baseline) by distances (Overhang) in the direction to the left, see the arrow (moving direction <<<)
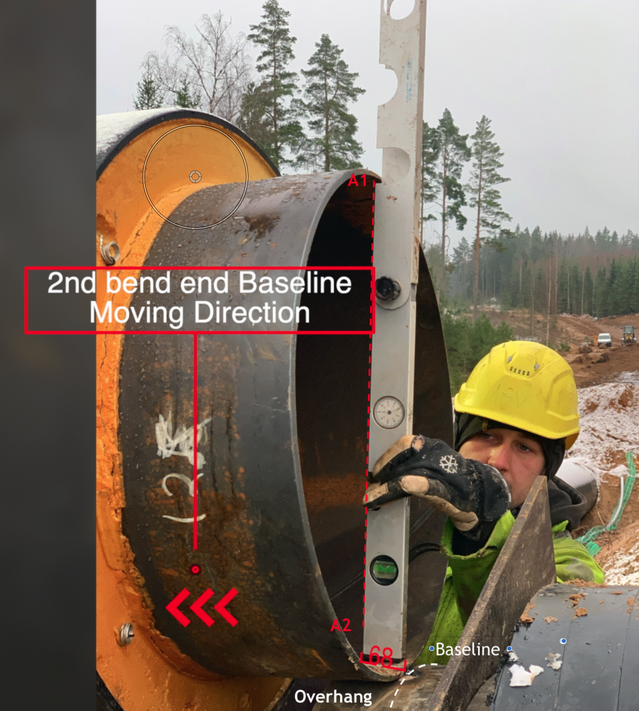
6. Technology of transferring the baseline to the place of the actual cut.
You can use a plywood scope to transfer the actual cut baseline.

7. Fitting parts and cutting the pipeline.
After you can make cuts along the mixed baseline, and already begin to apply a bend to the pipe strings, you may find some minor errors that are leveled out as part of the locksmith fit.
It is important to understand that the bend must come into place in exactly the same spatial position as you installed it in paragraph 2 (Laying the bend on the pipe string) of this instruction. To do this, it is advisable not to remove the bend from the sling during the entire installation, or to make marks.
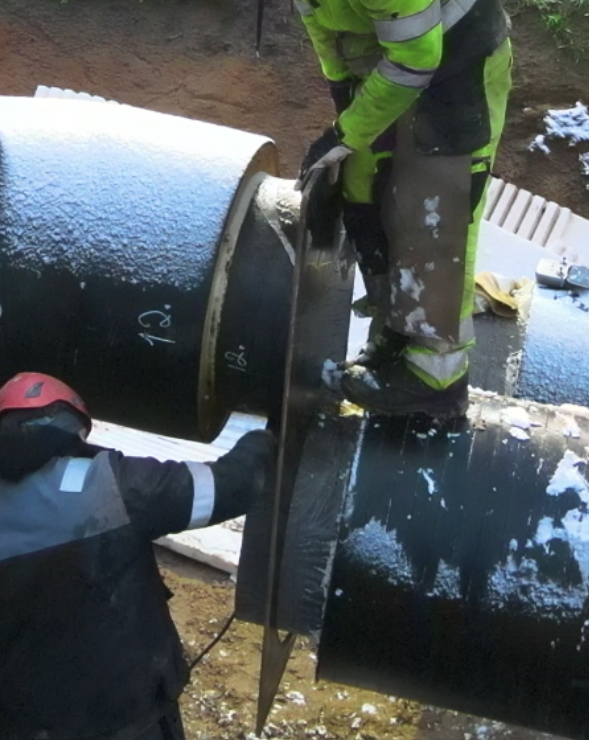
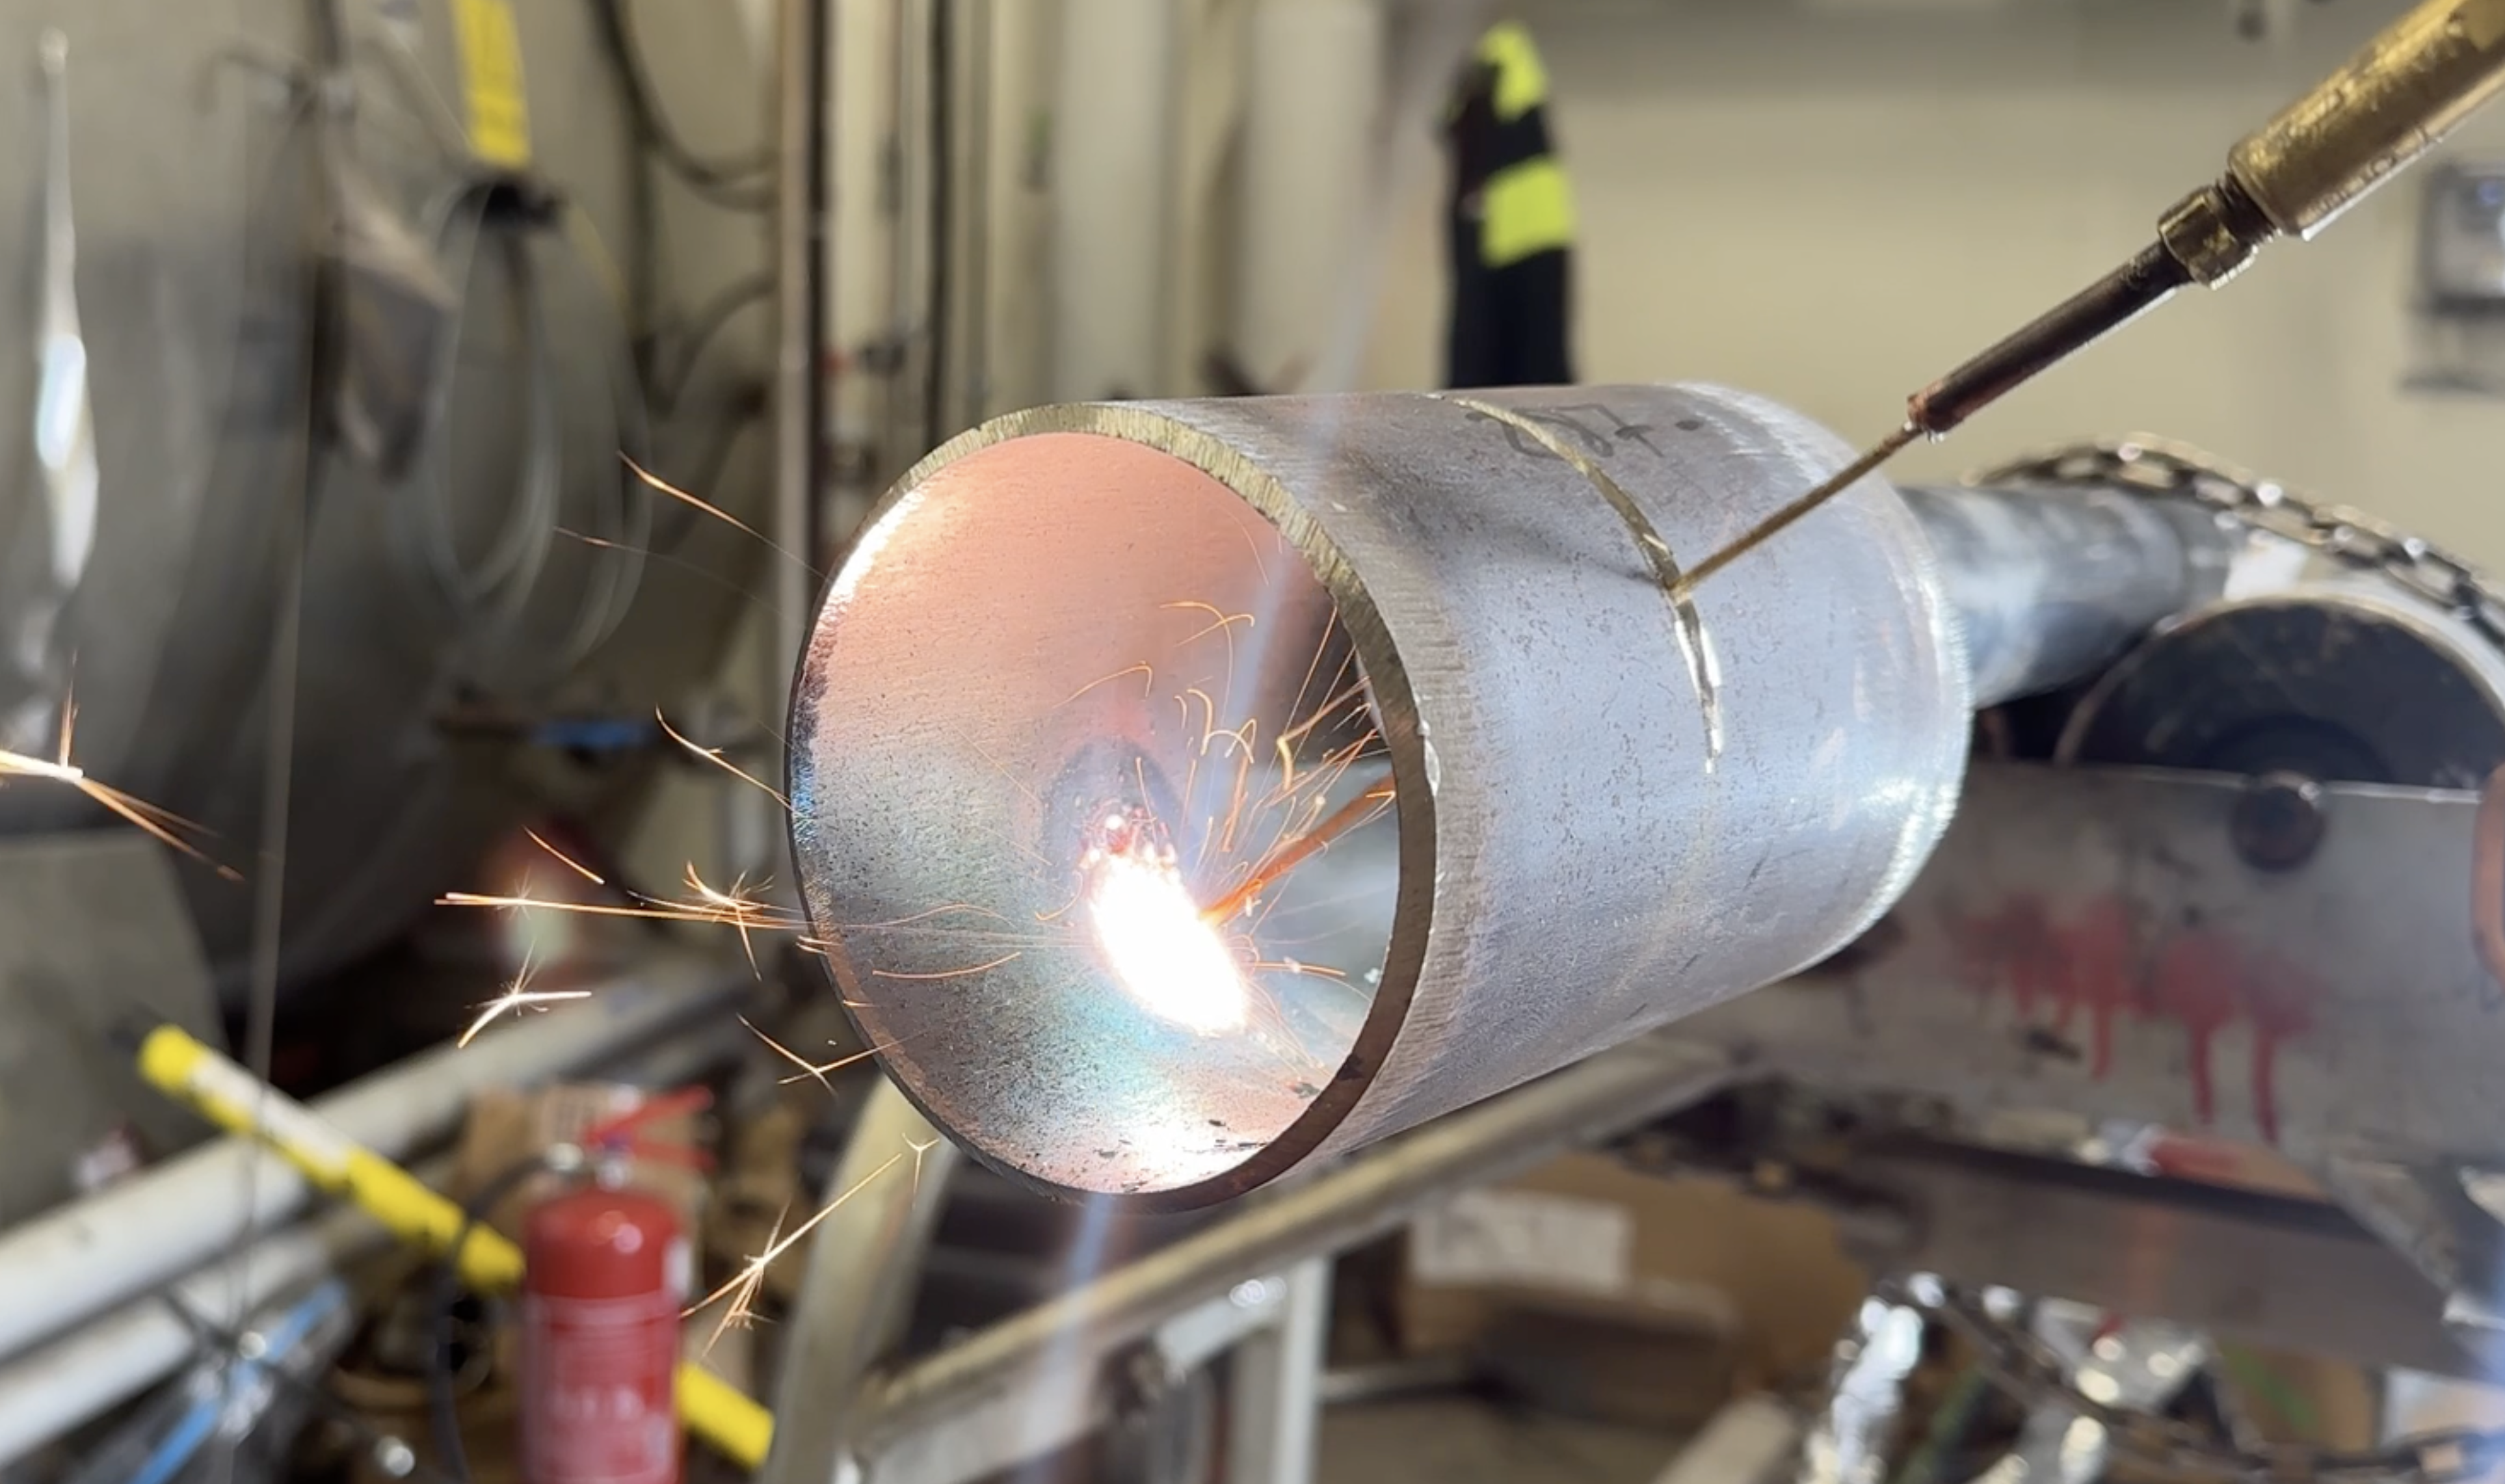
8. Tie-in and bend mounting of golden joints
After all the operations done, the last installation of the bend remains, it must be performed by a specialist installer.
9. Here is another way to use these simple tools for tapping into straight sections.
Download Tie – in point step by step instruction.pdf
Ilja Arhi – pipeweld.ee
Interesting! I like to try it.
Time saver, thanks.
One of the fastest ways to set up a pipe angle is to avoid spending a lot of company resources.